 ×
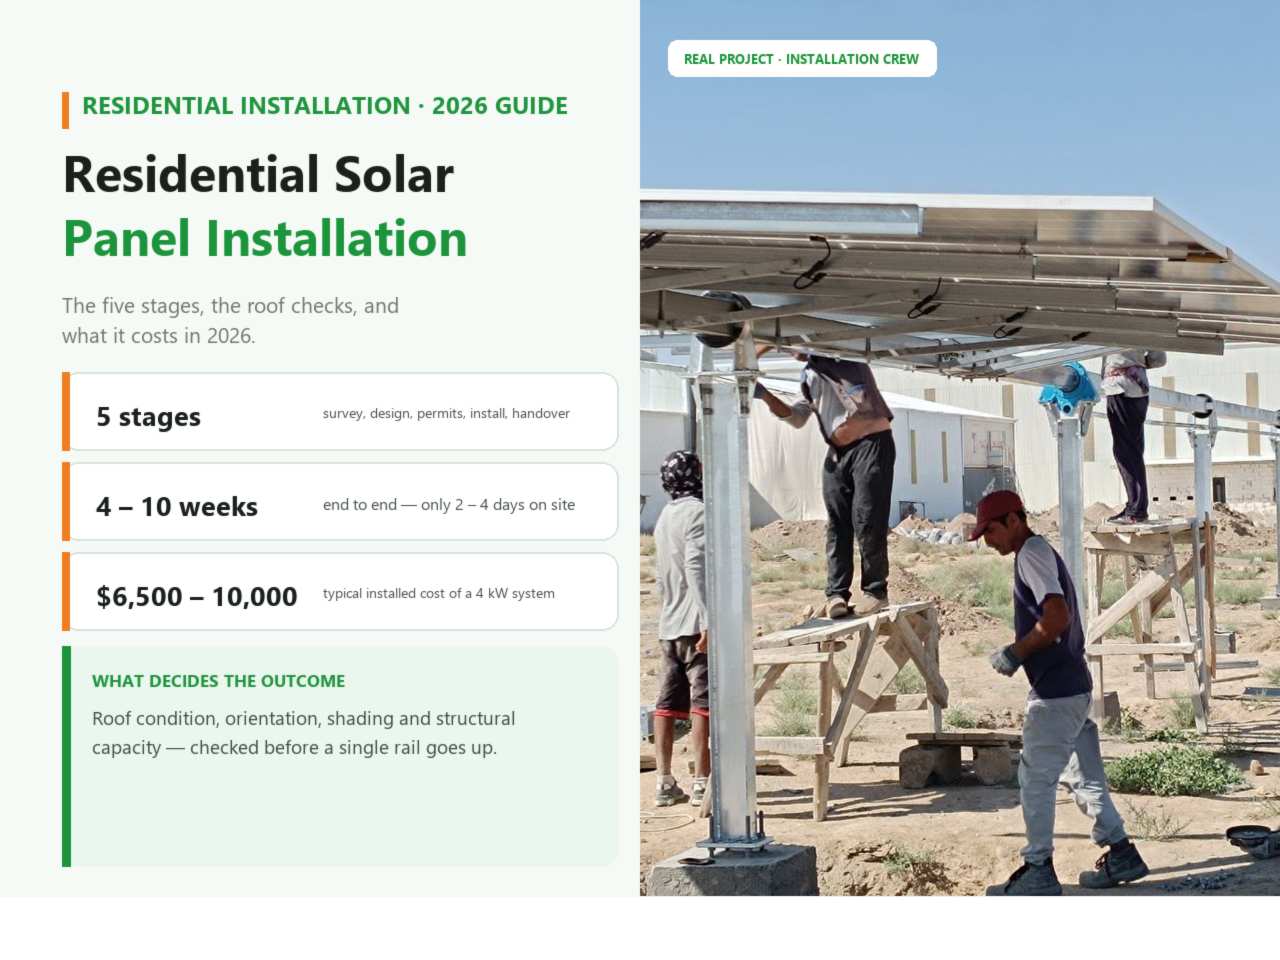
Most projects take four to ten weeks end to end, but only two to four days of that is actual on-site work. The rest is waiting for approvals. Anyone promising a two-week turnaround is usually skipping a step.
Everything downstream depends on the survey. A proper one covers:
Rooftop pv panels are almost always the cheapest place to generate, but only if the roof passes these checks. A survey that takes twenty minutes is not a survey.
The design stage converts the survey into a specification:
A residential rooftop system design should arrive as a document, not a verbal description. If you do not receive a layout drawing, a string diagram and a yield estimate, the design stage has not happened.
This is where timelines stretch. A solar system installation for home typically requires:
Requirements for the installation of solar pv system projects vary enormously between jurisdictions — some approve online in days, others take months. Confirm locally before you sign a contract, and make sure the timeline risk sits with the installer, not with you.
|
Roof type |
Mounting method |
Notes |
|
Concrete tile |
Roof hooks under tiles |
Requires tile lifting and careful resealing |
|
Asphalt shingle |
Flashed roof mounts |
Flashings are the waterproofing critical point |
|
Standing seam metal |
Non-penetrating clamps |
Fastest and least invasive |
|
Corrugated metal |
Brackets into purlins |
Check purlin spacing and fixing depth |
|
Flat / membrane |
Ballasted or anchored trays |
Tilt frames needed for optimal angle |
|
Ground mount |
Posts or ballasted blocks |
Most flexible orientation |
Fitting solar panels to roof surfaces is where most long-term problems originate — not with the modules, but with the penetrations. Every fixing is a potential leak, so flashing quality matters more than module brand.
Roof and solar panel installation should be sequenced deliberately: if the roof needs work, do it first. Combining a re-roof with a solar installation is the cheapest moment to go solar.
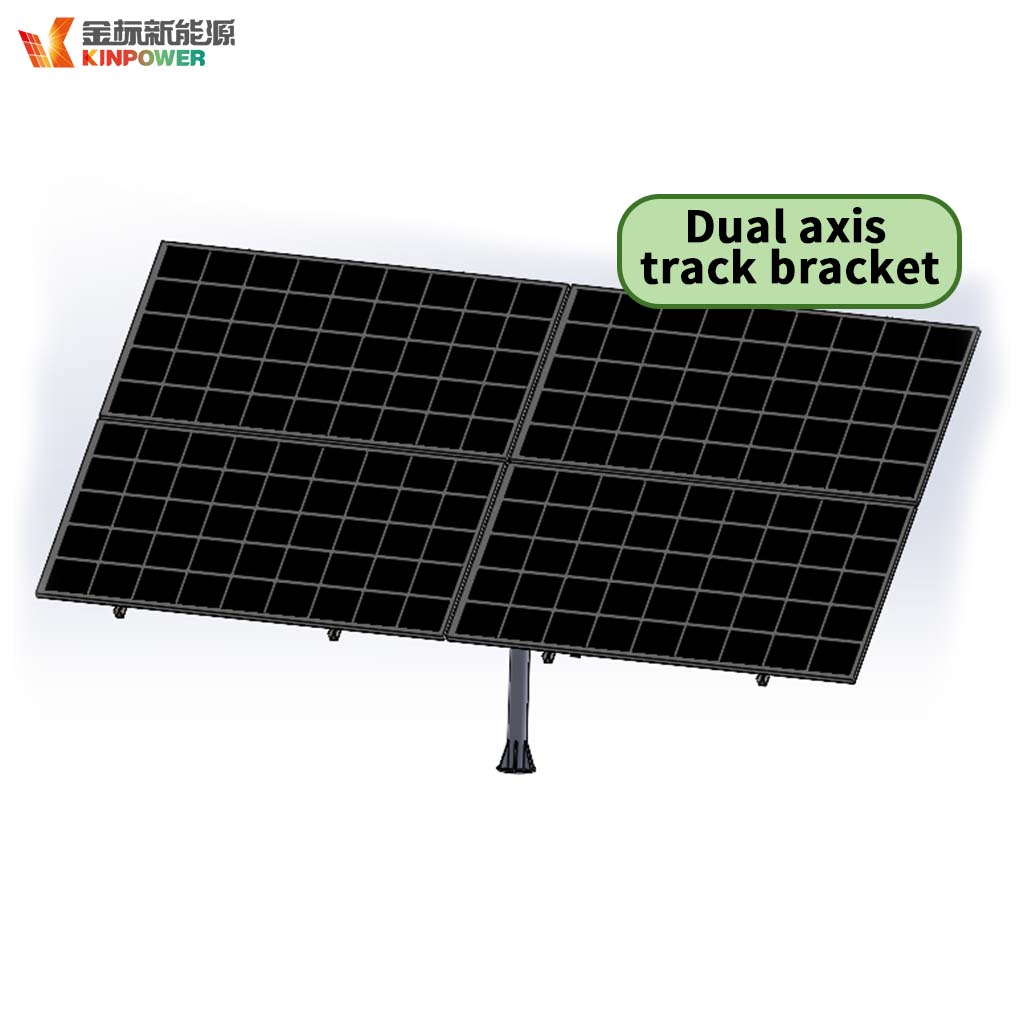
Most installations are roof-mounted, but the alternatives matter when the roof is unsuitable.
Residential roof solar panels are the default because the structure already exists and the area is otherwise unused. The constraint is orientation: a roof facing away from the equator will underperform, and no amount of mounting ingenuity changes that.
A residential solar rooftop system remains the best value in most cases. If the main roof is unsuitable, three options remain:
The phrase solar rooftop system for home is used loosely to mean any roof-mounted residential array. What matters is not the label but the numbers: orientation, pitch, shading and structural capacity. Two roofs of identical area can differ by 35% in annual yield purely on orientation and shading.
A solar pv system installation follows a fixed sequence:
Ask for the commissioning record. String voltages and insulation resistance readings taken on the day are the baseline against which every future fault is diagnosed. An installer who does not produce that record has not finished the job.
Adding solar panels to existing system capacity is one of the most frequent requests, and it splits into three cases:
Note that installing home solar power system expansions on an older array may also mean mixing module models. That is acceptable, but the string must be electrically matched — never mix different current ratings within one string.
|
System size |
Installed cost |
Cost per watt |
|
4 kW |
$6,500 – $10,000 |
$1.60 – $2.50 |
|
6 kW |
$8,500 – $14,000 |
$1.40 – $2.30 |
|
10 kW |
$13,000 – $20,000 |
$1.30 – $2.00 |
|
10 kW + 10 kWh battery |
$18,000 – $28,000 |
— |
The cost to install solar panels in home breaks down roughly as: hardware 55–65%, labour 20–25%, permitting and inspection 8–12%, and margin the remainder. When comparing quotes, ask for that split — it makes it obvious where the difference lies.
If you want to install solar system at home on a tight budget, the highest-leverage savings are: choose a simpler roof layout, avoid micro-inverters unless shading demands them, and bundle with a neighbour or within a new-build development to share mobilisation costs.
When shortlisting residential solar panel installation companies, apply these filters:
Residential solar power installation is a 25-year commitment delivered in three days. Choose the company, not the price.
Q: How long does a residential installation take? On-site work is typically one to three days. Total elapsed time including permits and grid approval is usually four to ten weeks.
Q: Can I install solar panels myself? Physically mounting panels is possible for a competent DIYer, but grid connection requires a licensed electrician in almost every jurisdiction. See our DIY guide for the safe boundaries.
Q: Do I need to replace my roof first? If the roof has more than 10–15 years of life remaining, no. If less, re-roof first — the labour saving later is substantial.
Q: How much does adding panels to an existing system cost?
Hardware and labour are similar per watt to a new installation, but you may avoid a new inverter and permitting fees, which reduces the total.
Q: Is a ground mount cheaper than a roof mount? No — ground mounts need foundations, trenching and often a longer cable run. But they allow optimal orientation where the roof does not.
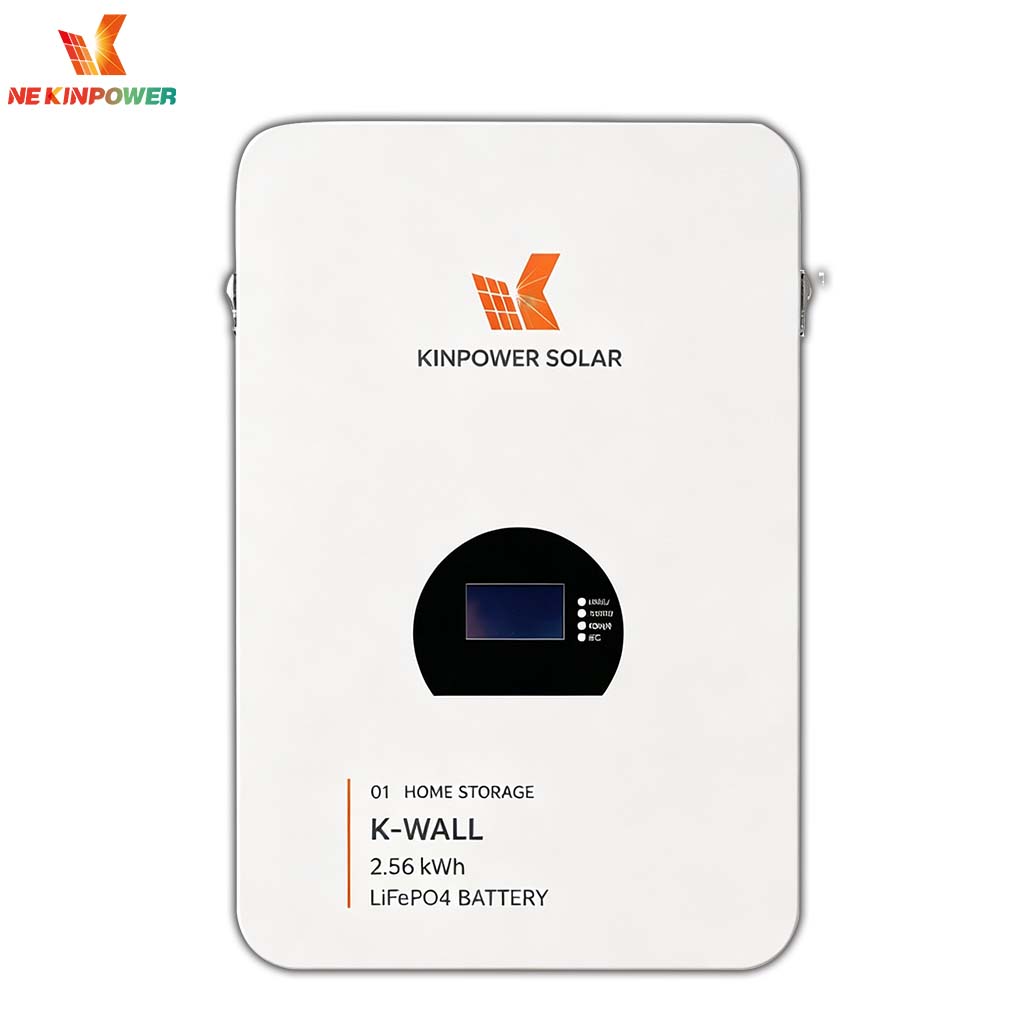
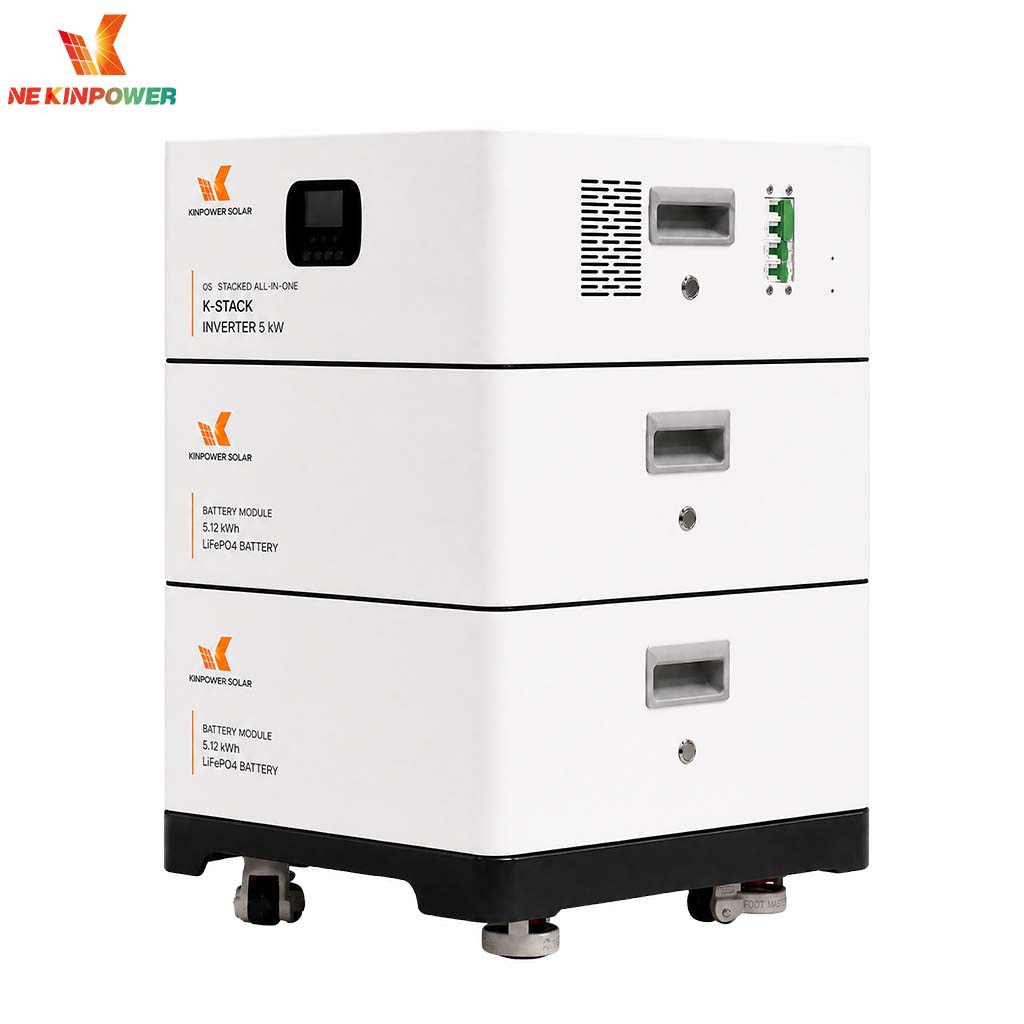
Ready to install? Kinpower supplies modules, string and hybrid inverters, mounting and LiFePO4 storage as matched systems, with full certification for grid approval and installers in your region. See home energy solutions or browse the product range.
 Hot News
2026-11-20
2026-11-17
2026-11-12
2026-11-10
2026-11-04
2026-11-02
 EN